


All of the cargo "tug" type ships in my collection feature removable cargo containers. I do this so that I can display the ship in various configurations. This particular build excited me because I was finally going to attempt at building some sort of liquid cargo container, but I had no idea how I was going to do it.
In Universe Notes:
(U)SS King David (NCC-970)
Goliath Class Transport


Currently, the ship is privately owned and operated by Triple “D” Enterprises under the name of SS King David.
The USS King David, was built at a time when the Federation was still expanding. There arose a need to transport massive amounts of goods to far away destinations. The Goliath Class starship was one of those means. Designed and built by Cozmo Heavy Industries, three of these massive ships were built and commissioned by Starfleet. At this point in the TOS era history, the Goliath class was only fitted with standard cargo tube containers.

The ship featured three nacelles, laid out is a similar fashion to a Federation Class starship. This was done to help maintain a stable warp field along the massive ship. She was only moderately armed and armored, which meant that she required an armed escort if traveling into dangerous areas of the Federation. The cargo containers were a permanent part of the ship and although they could be jettisoned in an emergency, they could not be reattached without the help of another ship or starbase. The size of the ship made her rather expensive to build and maintain and by the TMP era, all three of the ships were either destroyed or sold off for scrap.
After the Dominion War, Triple “D” Enterprises began buying up old, retired or scrapped ships for use in its R&D division. The hull of the Kind David was discovered in a Federation Bone Yard and was purchased for an undisclosed amount. At this point, she had been gutted of all of her engineering parts and core components, but the owner of Triple “D”, the retired Admiral Patrick Dougherty, saw some potential in her. The hull was towed back to Triple “D”’s construction facility and given new life.
All of the core components, like the computer core and internal facilities were replaced with state of the art components. The old style warp core was replaced with two new state of the art models. The additional warp core was installed further up along the hull to provide additional energy that would be required for her new lifestyle. The third nacelle was relocated further up the hull as well and paired off with an additional nacelle. The engineers felt that this new configuration provided a better warp bubble for the ship. The owner of Triple "D" was a bit of a starship buff and always liked old style starships. Because of this, and for aesthetic purposes, the old style nacelles and deflector dish were kept, however, the internal parts of these components were upgraded as much as possible. As far as weapons go, she was refitted with newer style phaser banks and two forward and two rear facing torpedo launchers. Additional shielding and shield generators were installed along the bottom portion of the ship. Her original cargo containers were too badly damaged and were removed. New cargo containers were built and the ship was equipped with the ability to easily attach and detach the containers on her own. Now that her cargo could easily be swapped out, two additional sets of cargo containers were built for the SS King James. One was a set of liquid or gas containment pods. These containers could be used to haul all sorts of materials that would not normally be transported in the standard containers. The additional shielding also allowed the ship to transport even more dangerous materials with these pods. The last set of cargo containers were designed for troop and auxiliary craft transport. Since the ship still had an older style look to her, these new cargo pods were built using old style Constitution hulls to keep up the appearances.
The ship is now back in active service for Triple “D” Enterprises cargo hauling division.
Real World Notes:
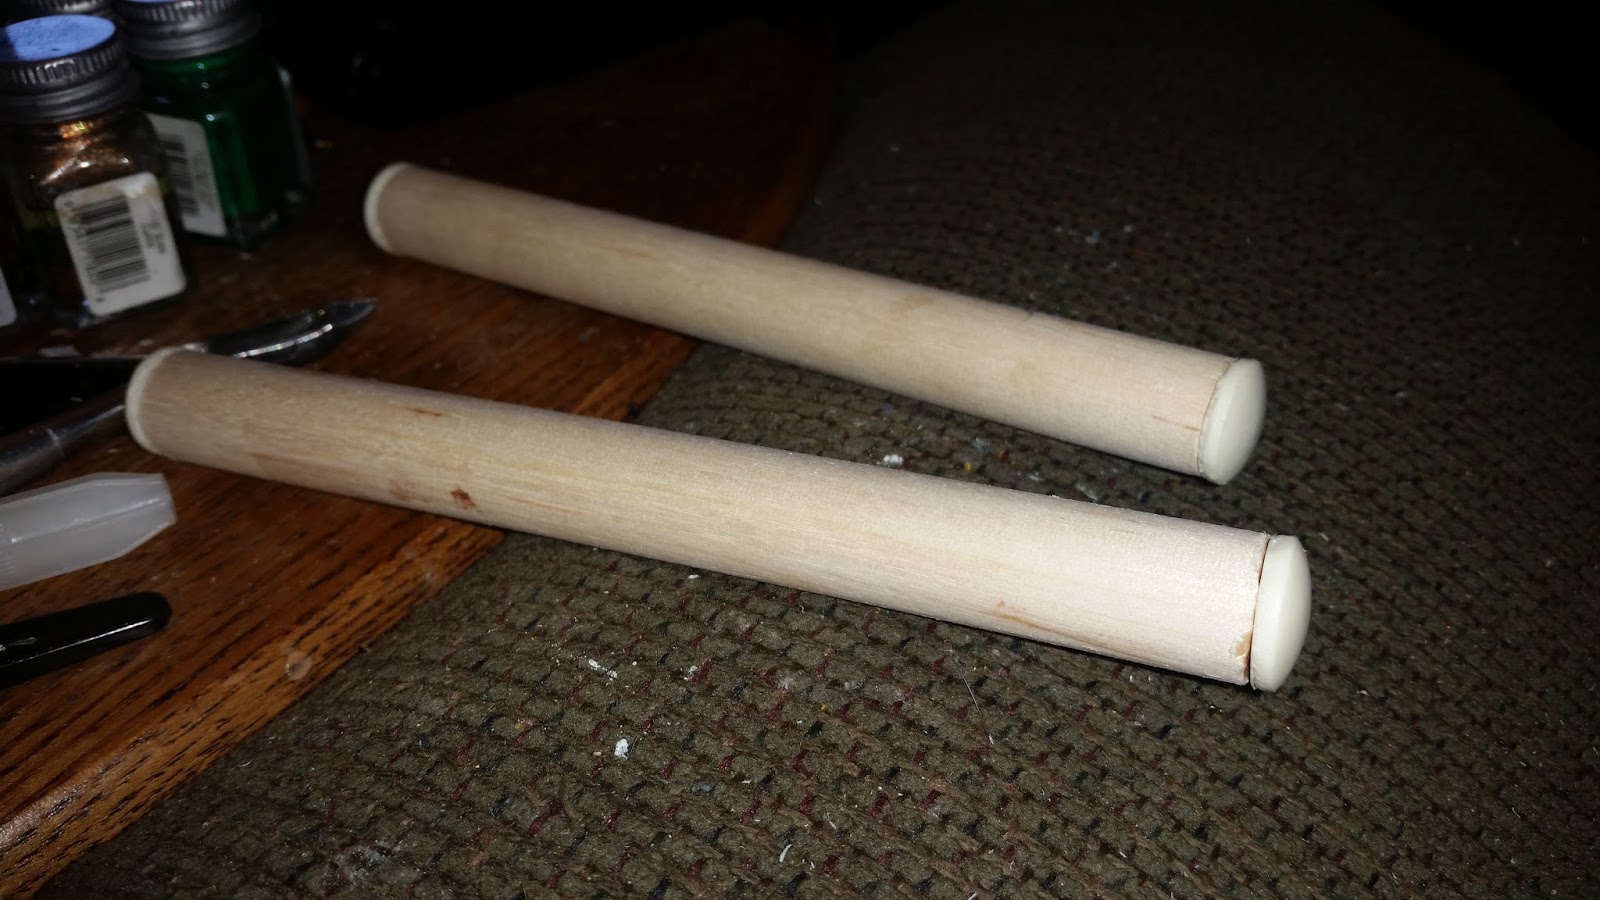
Parts Used: 12 Wooden Balls for fuel pod modules, 2 Wooden dowels for general cargo modules, ends of Constitution class hulls and Sharpie Markers for carrier modules
This build all started with when I managed to get my hands on the primary hull to a Goliath Class cargo hauler from Cozmo Heavy Industries. I decided that my build is going to be a bit different from the original in that I plan to actually have 4 nacelles instead of the three that are depicted. Due to the overall length of the ship, I also planed to move the dorsal nacelles further up the deck to spread out the warp field. Just like all my other cargo haulers, I planed to build this without gluing on the cargo containers so that I can swap them out. In fact, I planed on building three different sets of cargo containers. The first will be a standard tube like cargo container. The second set will be a fuel transport, much like we saw on the Malon ships in Star Trek: Voyager. And the third set will be for troop and support craft transport, but done using TOS style parts. I gave all of the resin parts their obligatory detergent bath to remove the casting oils and then mounted the dorsal "wings" that will serve as the nacelle struts. I then used some greebles from my parts bins to fashion an impulse engineering section for the rear of the ship. I gathered up four TOS style secondary hulls as well as four TOS style nacelles from my parts bin. I also plan to sacrifice some Sharpie markers to extend the troop transport pods.


The next day, I commenced with disassembly of the Sharpie Markers and cutting down the tubes to the correct length. I then glued the Constitution Engineering Hulls to either end of the tubes. I made some cuts to a Constitution class deflector dish assembly and glued it to the front of the ship. I then glued together the nacelles. At this point, I now have some major putty work on the current carrier pods. I will be going shopping tonight for parts to make the fuel pods and cargo containers.


The next day was a success!!! I found my balls!!! 😐 I couldn't resist. These will become fuel pod cargo containers for the ship. And I picked up a dowel that will become some general cargo containers.

I then spent the weekend making a bunch of progress on this model. After finally finding some small wooden balls and a dowel that was the right width for my end caps, I was able to proceed with building the other cargo containers. I did all my putty work and then sanded it all down. I started painting the troop transport pods as well as the underbelly of the ship.


The next day felt like I made some real progress. I stopped at the hobby shop and picked up a large bottle of gunship gray paint and then painted all of the cargo containers. I then did some detailing of the nacelles and finished painting the belly of the beast.


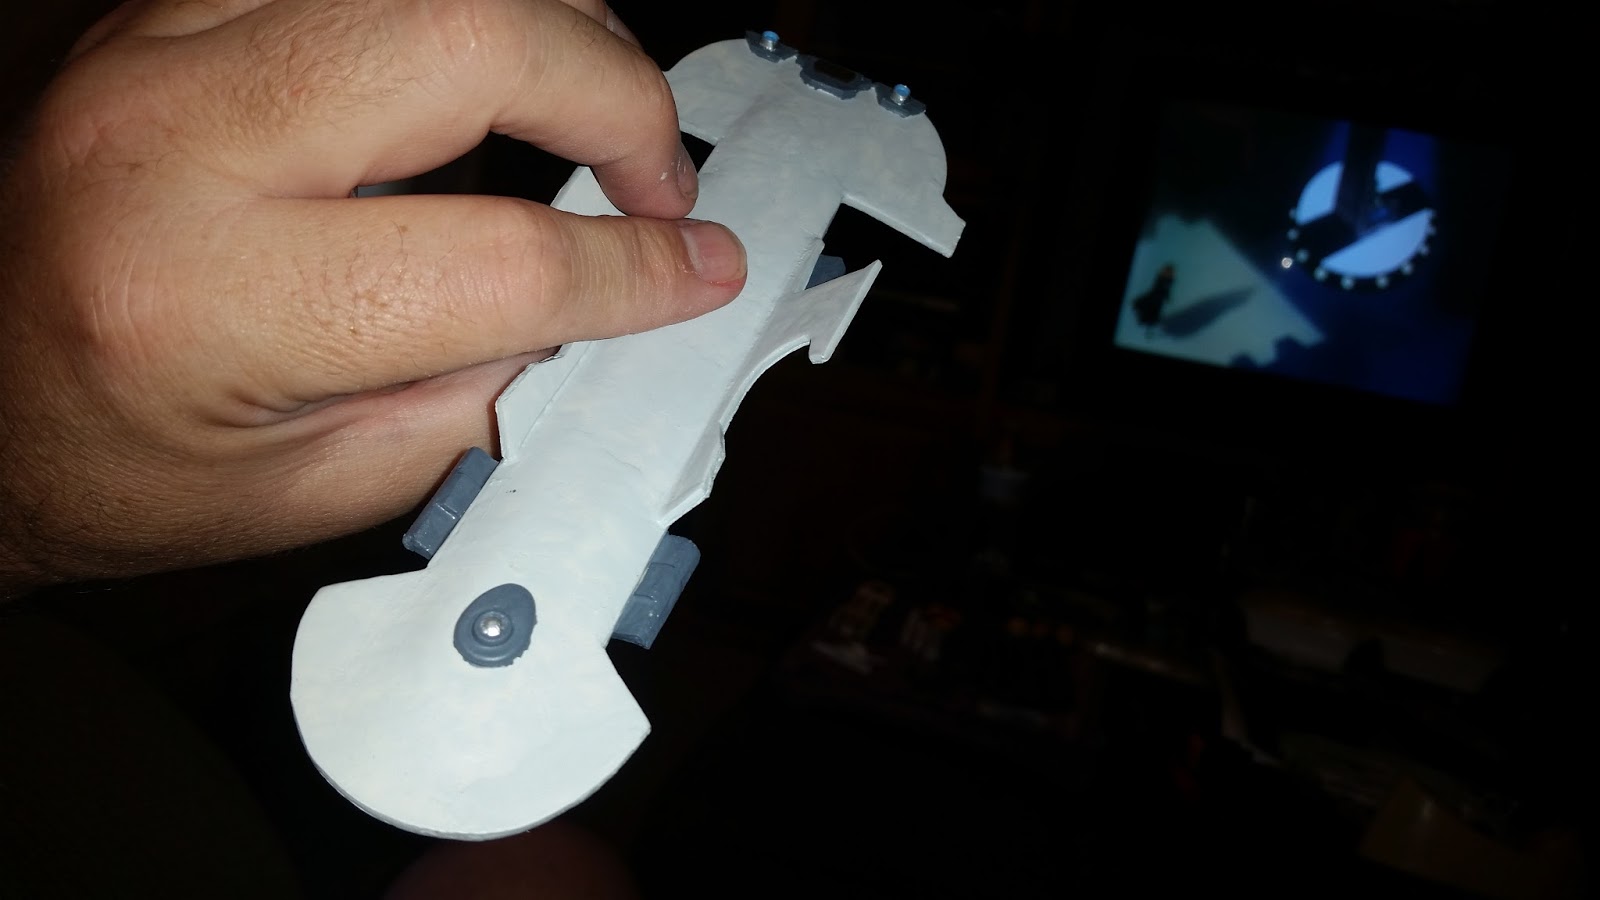
When I finally got to try to work with the model the next day, I didn't have a lot of time due to me working late. And as such, I didn't make a lot of progress with her. I am using paper clips for piping and conduits on the outside of the fuel pod containers. My groove lock pliers made for a perfect vice to hold the paper clip in place while the super glue sets. I still have a ways to go with the paper clips as I only got 2 and a half of them glued on out of a total of six. I also finished base coating the top half of the ship and even painted a cargo bay on her rear end.


The next day saw me working at the farm again and not get home till late. I still managed to continue with "welding" on the piping/conduits for the fuel pod modules. I now have one finished. I'm debating on whether I should add more to them. I am leaning towards "no" and keeping it TOS style simple.


As a side note, I felt so strongly about how these looked, that it inspired me to scratchbuild my own attempt at the Gamilon Rocket Tanker.

You can read about this model at THIS LINK.
We then reached a weekend, and this is where I made the most progress with this model. I had finally finished "welding" the conduits and pipes to the fuel pod containers. I had finished detail painting the top, front and rear of the ship. At this point, I will need to go back and do some minor touch up painting though. I decided to put some hard point mounts on the ship for the cargo containers. After puttying them up and then gluing, they were painted as well. Nacelle painting was finished and then I mounted the nacelles. I continued to work on the troop/support craft transport containers by painting windows on them.


Work on this model then stalled for a week and then I had a nice productive four day weekend where I finished up three separate model projects. There wasn't too much more work that needed to be done on this model though. I cleaned up the paint around the windows of the troop/support craft transport pods and decided to paint a few phaser banks along the main hull.


And that is the story of how she was built. Although the gas/liquid containers and troop transport containers were not of superb quality, I did learn some stuff about how to better go about doing this sort of thing in the future. And quite frankly, the fact that the ship is basically recycled from a scrap yard anyway, I'm willing to overlook the rough look of those particular containers.
In the end, I really like the look of her and those interchangeable cargo containers are an additional bonus feature so I would say that overall, I am very pleased with what I ended up with. I hope you enjoyed following along with my build of her.

As always, I hope you found this article useful and informative. If you have any questions, comments or suggestions, please feel free to comment below.
So for now, "Live long and prosper!!!"
Additional Links To Photos Of My Collection:
SS King David ( The Model Work In Progress )
No comments:
Post a Comment