
NOTE: You can click on most pictures to get a larger view of them.
I put a lot of work into my original Lexington Class kitbash, and I REALLY wanted to do a similar build with the Vanguard Class carrier. This is that story...

In Universe Notes:
This ship was created in the Space Battleship Yamato 2202 story universe.
In an effort to further strengthen the Earth Defense Force fleet, newer wave motion capable ships were to be designed, built and deployed. The war with Gamilas also made it apparent that the Earth fleet needed to also add carrier type vessels to the fleet.
Several different designs were considered. One concept was a modification of the Dreadnought/Battleship (or Borodino) class.

This new design opted to remove the rear gun placements in favor of a launch/landing deck.

The naval leadership decided that this style of vessel did not have a large enough capacity for support craft for what may be needed, and they eventually scrapped the idea.
Since the Vanguard Class Battleship had already won a contract, its designers decided to also try to win a contract for a carrier type of vessel.

The designers decided to build off the already accepted Vanguard Class.
Lexington (AAA-X03)
Vanguard Class Carrier Prototype
Unknown Scale Bandai Kitbash


The Lexington was a prototype that was built as a proof of concept, but before her Wave Motion Engine was completed, the E.D.F. leadership asked for a slightly different design. This newer design was approved and went into production. The Lexington sat in a corner of the shipyards and never saw action during the Conflict of 2202.

After the war though, the E.D.F. decided to finish her and add her to the fleet in order to bolster Earth's now decimated fleet.
As it turned out, her lowered flight deck, while having less space on top, created more storage space inside the ship for a larger capacity of support craft.

Before leaving the shipyards though, several extra weapons were added to the rear of the ship to help protect the flight deck.

Real World Notes
I was never a fan of the Vanguard Class Carrier that we see in Space Battleship Yamato 2202. The overhead launch deck seemed improbable to me, especially when we see two of these types of ships launched from Earth. It seemed to me that in a gravity situation, the flight deck would cause a lot of stress to the support structure underneath. I also thought that the location of this flight deck, so high up on the ship's profile, made it quite an easy target.
A few years ago, I had kitbashed a Lexington Class Battle Carrier from a Mecha kit.


You can actually read about this build at THIS LINK. I decided it was time to try seeing what this new style ship would look like if I followed the same profile of the TOS style ship's lowered deck.
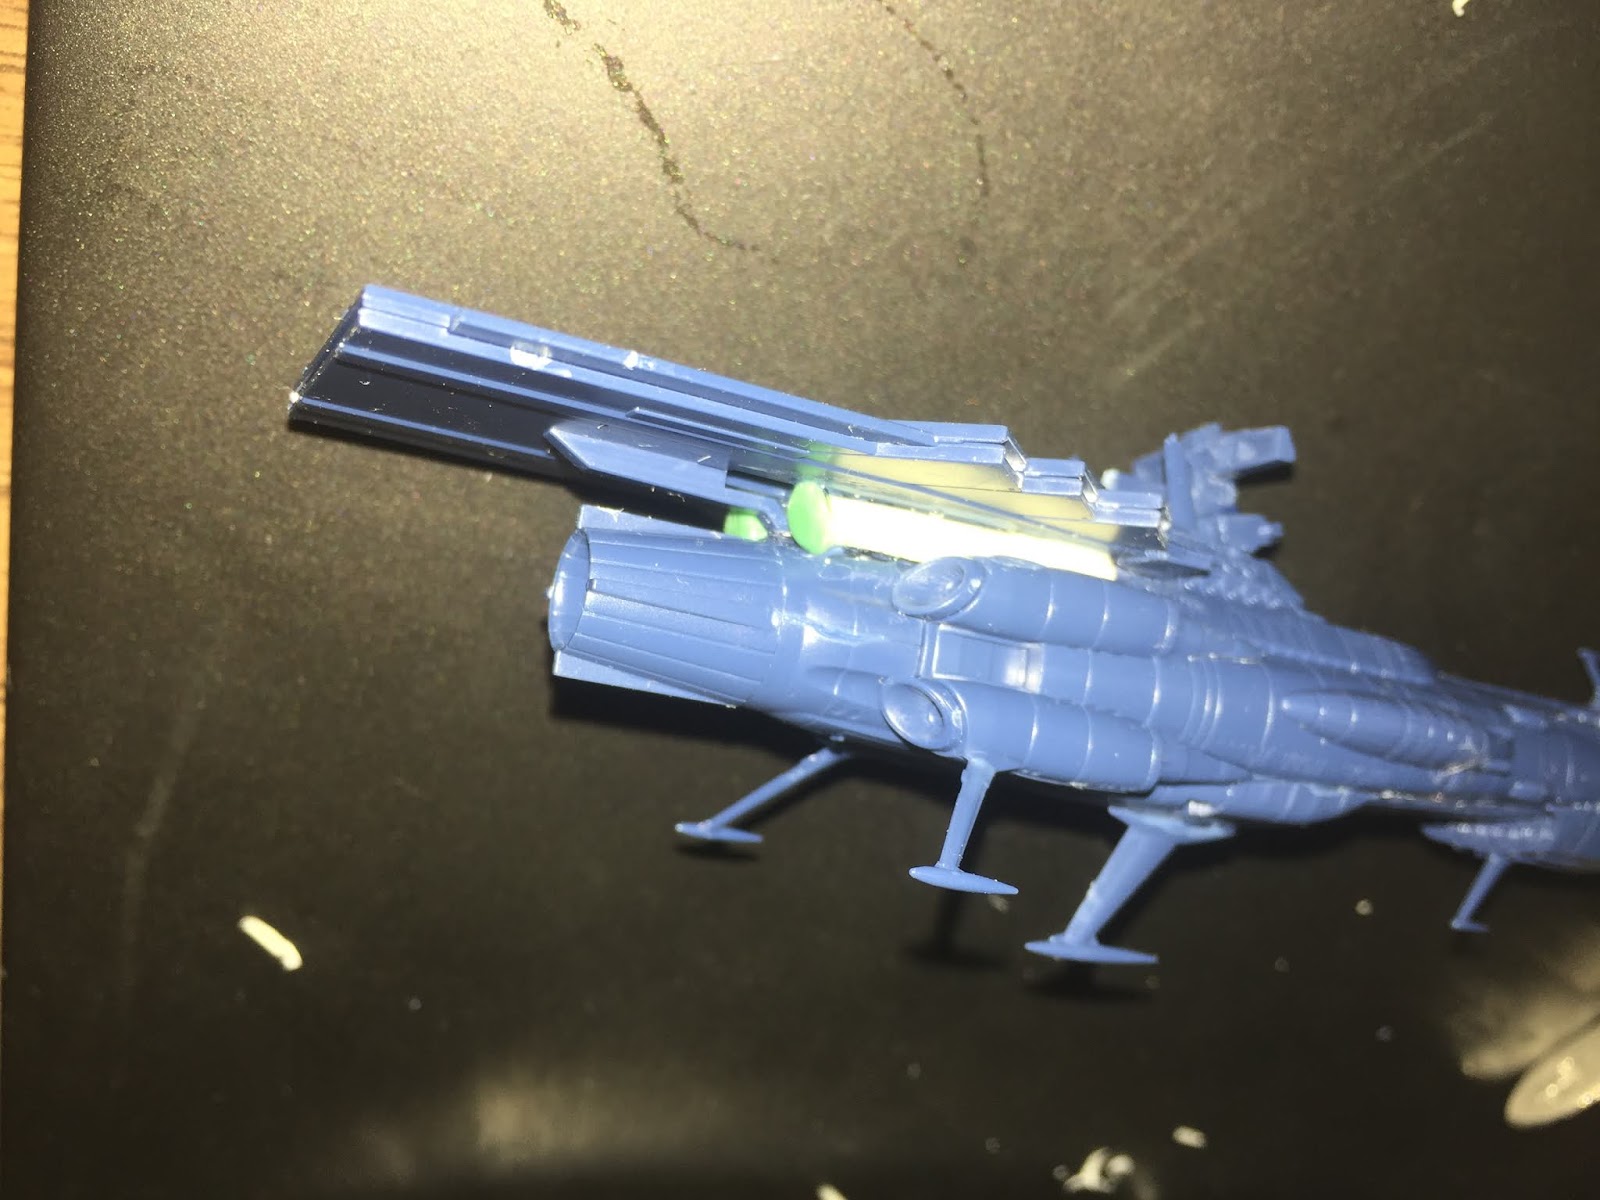
The first day of this build saw me making quite a bit of progress on the ship's construction. I'm still debating on what to do with the excess control tower parts and I REALLY wanted to mount a set of canons on that rear deck.


My thoughts after this part of construction were completed were that there were going to be a few obstacles that I was going to need to overcome. I knew that wanted to fill in some gaps that are currently under the flight deck and that I would also leave a few pieces off to help simplify the painting process, especially on the bottom of the ship.
I had a few non-model busy days and wasn't able to revisit the project right away. When I did pick it up again, I was not quite happy with the placement of the flight deck. I gently pried it off, trimmed the back of the control tower and was able to edge the entire deck forward another centimeter. At that scale, it's a difference of a good 20 to 50 feet, but I was happier now.


I also did not like all the open space that was still under the flight deck, so I found some parts and just tacked them in there to fill the space. This now gives the ship some extra "storage" for support craft, fuel or supplies.

I REALLY wanted to make use of all that extra control tower parts that would normally act as support for the flight deck. After looking at it from several different angles, I flipped it up-side-down, trimmed it a bit and then mounted it on top of the deck and flush with the back of the control tower.

I really like how it looks as it gives that part of the ship a modern day U.S. Destroyer feel. Plus, it gives the extra space to store support craft.

Lastly, I needed to fill a slight gap that would normally be hidden by the standard build steps of the model. I found something from my greebles box that now looks like some extra antenna.


At this point in the process, I decided that I was done modifying this beast and should start doing some painting. I decided on the traditional battleship gray for the main hull, black for leading edges, and dark gray for any deck plating. I then got some rough paint work done and will start on the bottom of the model on my next go-around.

I then had a very productive weekend. Not only did I go see Avengers: End Game, but I also managed to get a lot of work done on this model.
In hindsight, I should have painted the carrier desk and rear bridge module BEFORE gluing it on as it would have made painting certain areas of the model extremely easy. The issue with this idea though was that I would have had to try to fill the gaps under the deck after painting was done.
I painted the primary gun turrets as well as painted and ethe modules that hang off the bottom of the ship.


I also painted the engine exhausts and Wave Motion Gun muzzles.


I then glued those modules together and finished touch-up painting on them.
The rest of the weekend involved painting in other details. I ended the weekend with just needing to do a bunch of touch-up work before clear-coating and the main body is done. I also have a bunch of tiny extra guns to paint before attaching them.


The next time I worked on this project, I made a couple of minor moves forward, but things are looking really good now. I mounted the pods on the underside of the ship and did some touch-up paint work there.

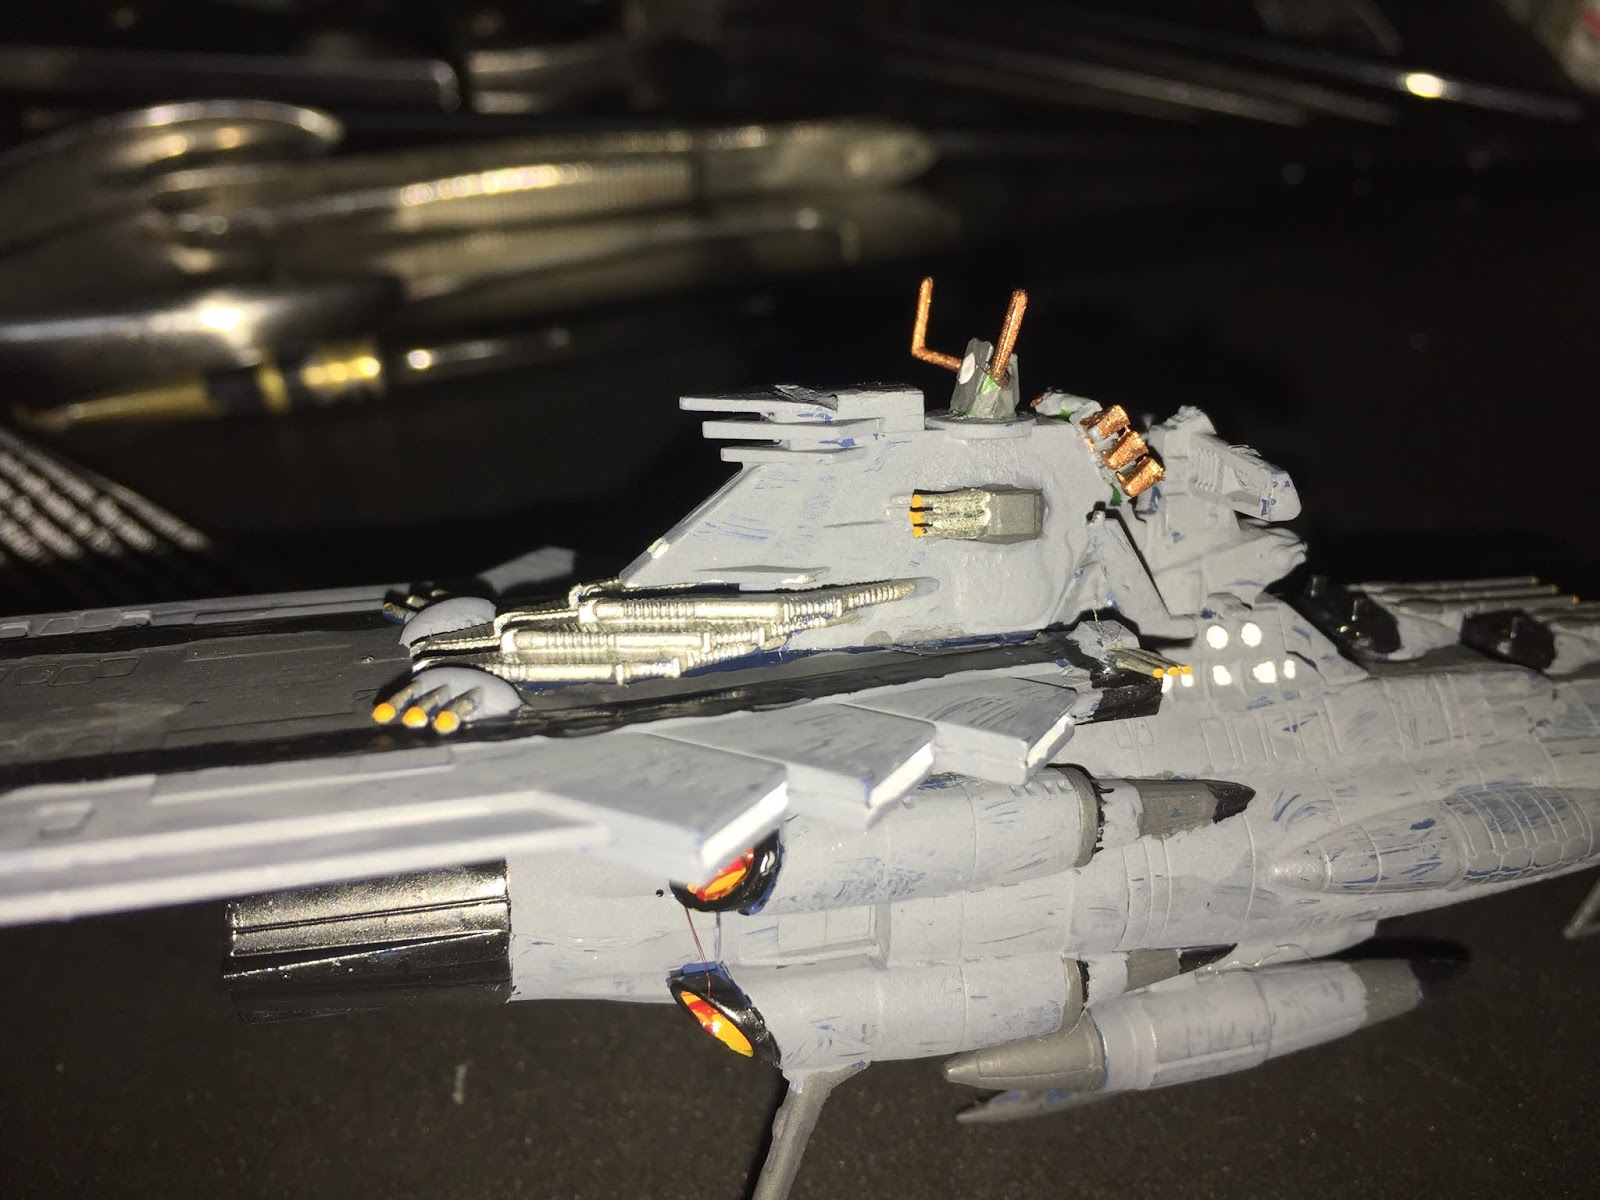
My initial plan was to mount some sort of weaponry on top of the command tower, HOWEVER, I didn't have anything that looked very good. I then found a bridge and antenna module from a different kit that looked perfect there and mounted it instead.

To quote Neo from "The Matrix (1999)"...


And then it was time to mount some extra guns that had been sitting in my greebles box for a while.

After weapons selection was completed and they were installed, I did a little bit of painting around the control tower.

At this point, I was VERY close to completing this thing, as I just need to paint the new weapons and finish with a bunch of touch-up paint work.
And then the very next day, I painted all the minor weapons and then finished touch-up paint work across the entire model.

And then it was time to finish the project off with a spraying of clear-coat paint.

I had been really nervous about attempting this project. I had not worked on a model since my move to the new temporary apartment over ten months ago. Attempting a kitbash after that long of a time could have been daunting and overwhelming, but in the end, I was pretty darned pleased with the outcome.

As always, I hope you found this article useful and informative. If you have any questions, comments or suggestions, please feel free to comment below.
So for now, "Live long and prosper!!!"
Additional Links To Photos Of My Collection:
Looks neat. I don't know much about Star Blazers (as it was called when I saw it).
ReplyDeleteThanks for checking it out.
Delete---DS Pat